Using the drivers and vehicles feature will allow you to allocate your work effectively amongst your fleet. The setup can be done in only a matter of steps via the dashboard.
Step 1
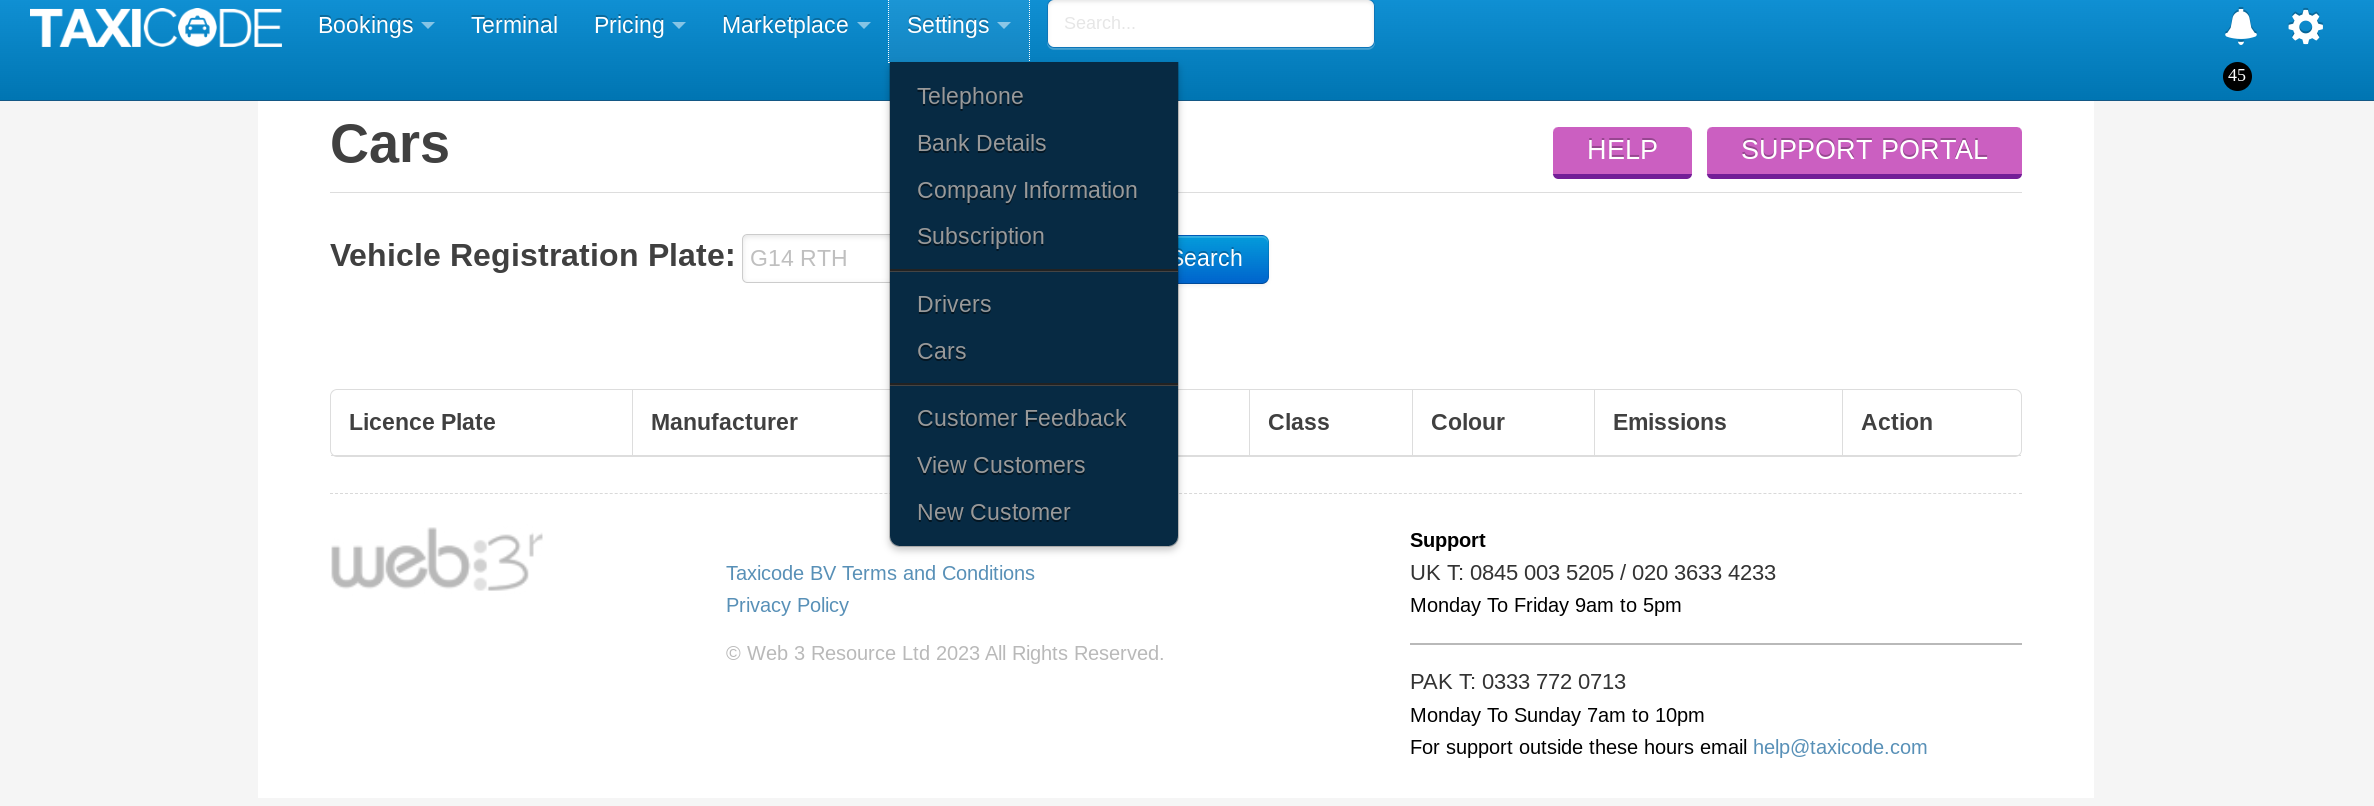
Register your car by selecting the "Cars" tab via the "Settings" dropdown. From here, you need to enter the vehicle registration and the car will be uploaded onto the system.
Step 2
Register your drivers, again, by selecting "Drivers" via the "Settings" dropdown. Input the drivers' details in the requested fields and link the driver to the car using the dropdown option in the "Car" field. We recommend adding a photo for the benefit of the passenger. If you opt not to make the mobile number private, the passenger will be provided with the mobile number. This will help to improve the passenger's experience and prevent unnecessary calls to you or your call center.

Step 3
Once the driver has been linked to the car, they will receive an email where they will need to verify their account and set a password. Once the account has been verified, the driver will be granted access to the Taxicode drivers portal where they will be able to view all upcoming jobs.

Scenario 1 - Allocating a driver and vehicle to a journey upon confirmation
To assign a driver and car to a booking you will need to do so via the Dashboard. Upon confirming the booking you will see a pop-up with all the drivers and cars you have setup. You can now allocate the driver and car of your choosing. Once this has been done, your driver will then receive an email confirming the new journey, and their Taxicode drivers portal shall be updated with the new journey.

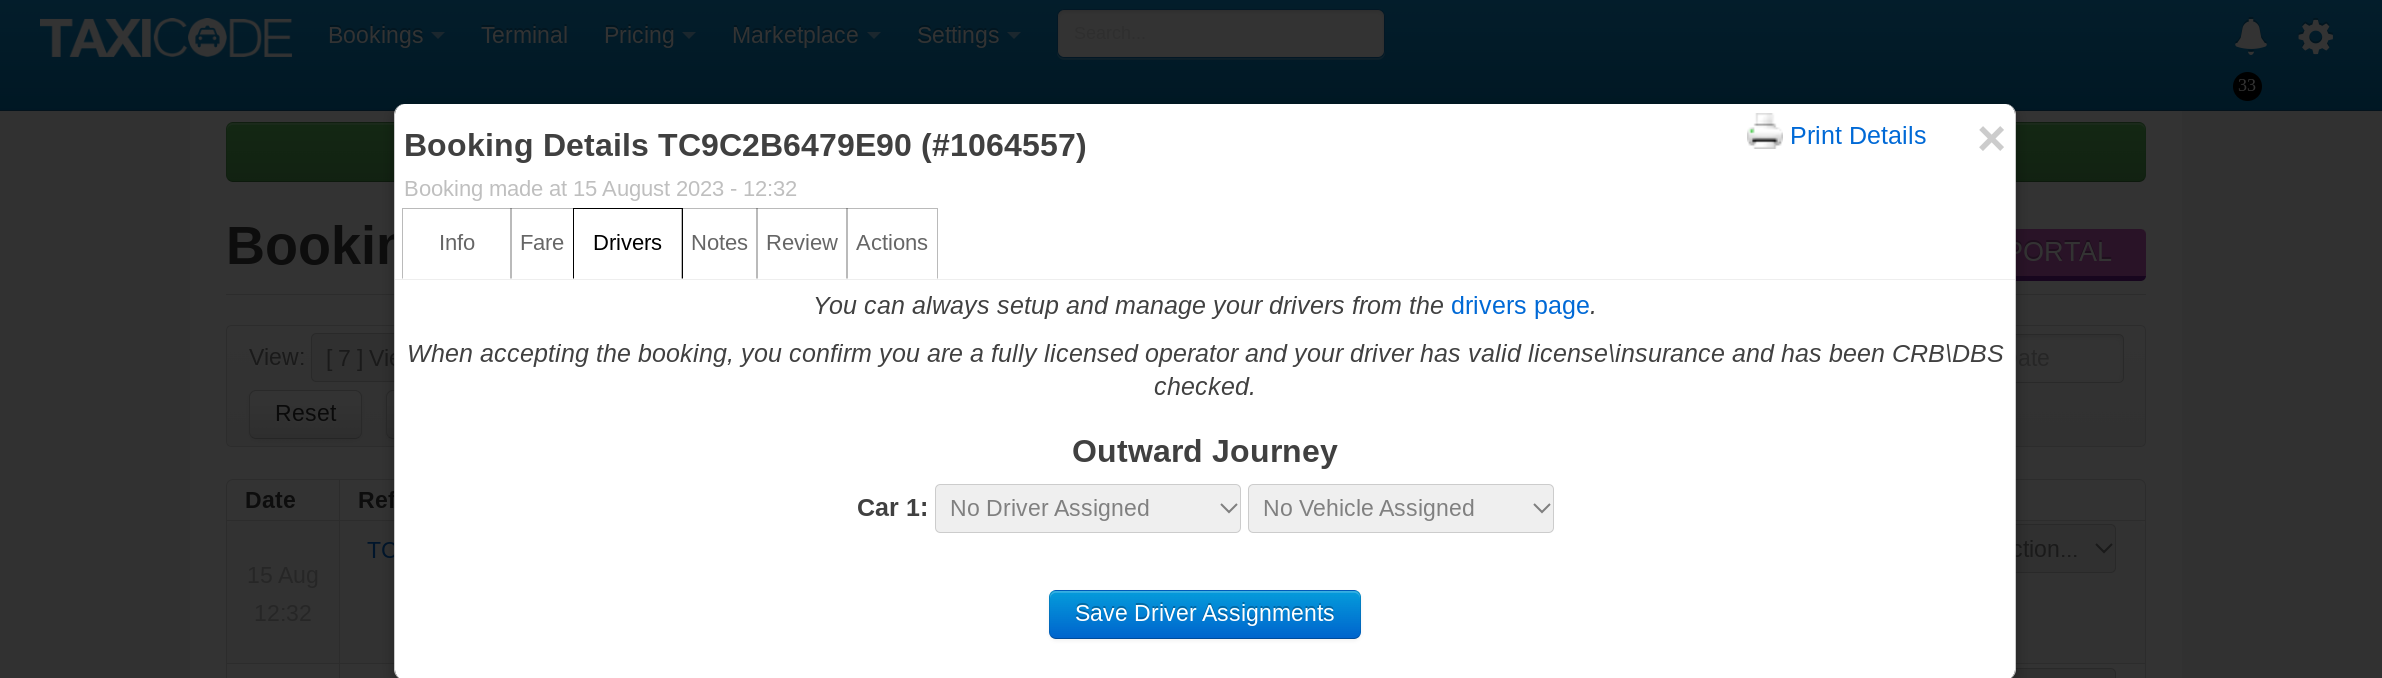
Scenario 2 - Allocating a driver and vehicle to a journey at a later date
If you have chosen to assign a driver and vehicle at a later date, this can be done by opening the bookings and selecting the "Drivers" tab. From here, you will be able to select the driver and vehicle of your choice. Once this has been done the allocated driver will receive an email and their Taxicode drivers portal will be updated with all the necessary journey information. The passenger will receive an email informing them that a driver has been allocated to their journey along with all the driver's details.
How To Change The Assigned Driver and Vehicle
You can change the assigned driver and vehicle before the journey is due to take place. To do so, you will need to select the booking followed by the "Drivers" tab. From here, you will see the option to edit the driver and select a new driver of your choice. The passenger will then receive an email updating them on the change along with the new driver's details.
